
10 Tips for Photographing Yourself With A Tripod
One of the top 10 questions I'm asked on Instagram is "how do you photograph yourself so much alone? I have written an answer to that question in 6 Tips To Photograph Yourself Whilst Traveling Solo, but this blog is designed to fill you in and help you out on your next set of adventures specifically with a tripod.
Even if you plan to travel with other people bringing a tripod along can save a lot of headaches and empower you to produce your ideal travel photos. For example, you may be the best photographer of the bunch and you don't want to miss out on the perfect photograph designed to your liking or you want epic group shots of you and your loved ones. It's a win all around.
10 Tips For Photographing Yourself With a Tripod
1. Buy equipment that doesn't intimidate you

Sayulita, Mexico
This is probably one of the biggest hurdles to venturing out into the world (alone) with a tripod. Have you had any of these thoughts before? "This tripod is heavy. It doesn't fit in my backpack/carry-on. I'm not comfortable with the fixtures or the way it works. It takes too long to set up...etc." Well, you are not alone! I also started out this way. I learned the hard way.
I started out my tripod journey with a cheap and chinsy piece of equipment that was too long to fit in my backpack and didn't provide enough height. And I didn't always feel excited about pulling it out to use it. However, once I finally got enough practice under my belt (and I traded in the old iPad that I was never using) I upgraded to a compact action tripod from Manfrotto and it is a thrill to use now! It's sturdy and well built, provides great height, but folds down enough to fit into my travel backpack, is easy to set up and break down, and has multiple adjustments to help take level photos. I also travel with a short and flexible Joby to help me with taking video and adapting to environments that are either not conducive for larger tripods or potentially better for the type of shot I'm aiming to capture.
Do your research, take your time making the investment, and then...
2. Practice, practice, practice (using the equipment)
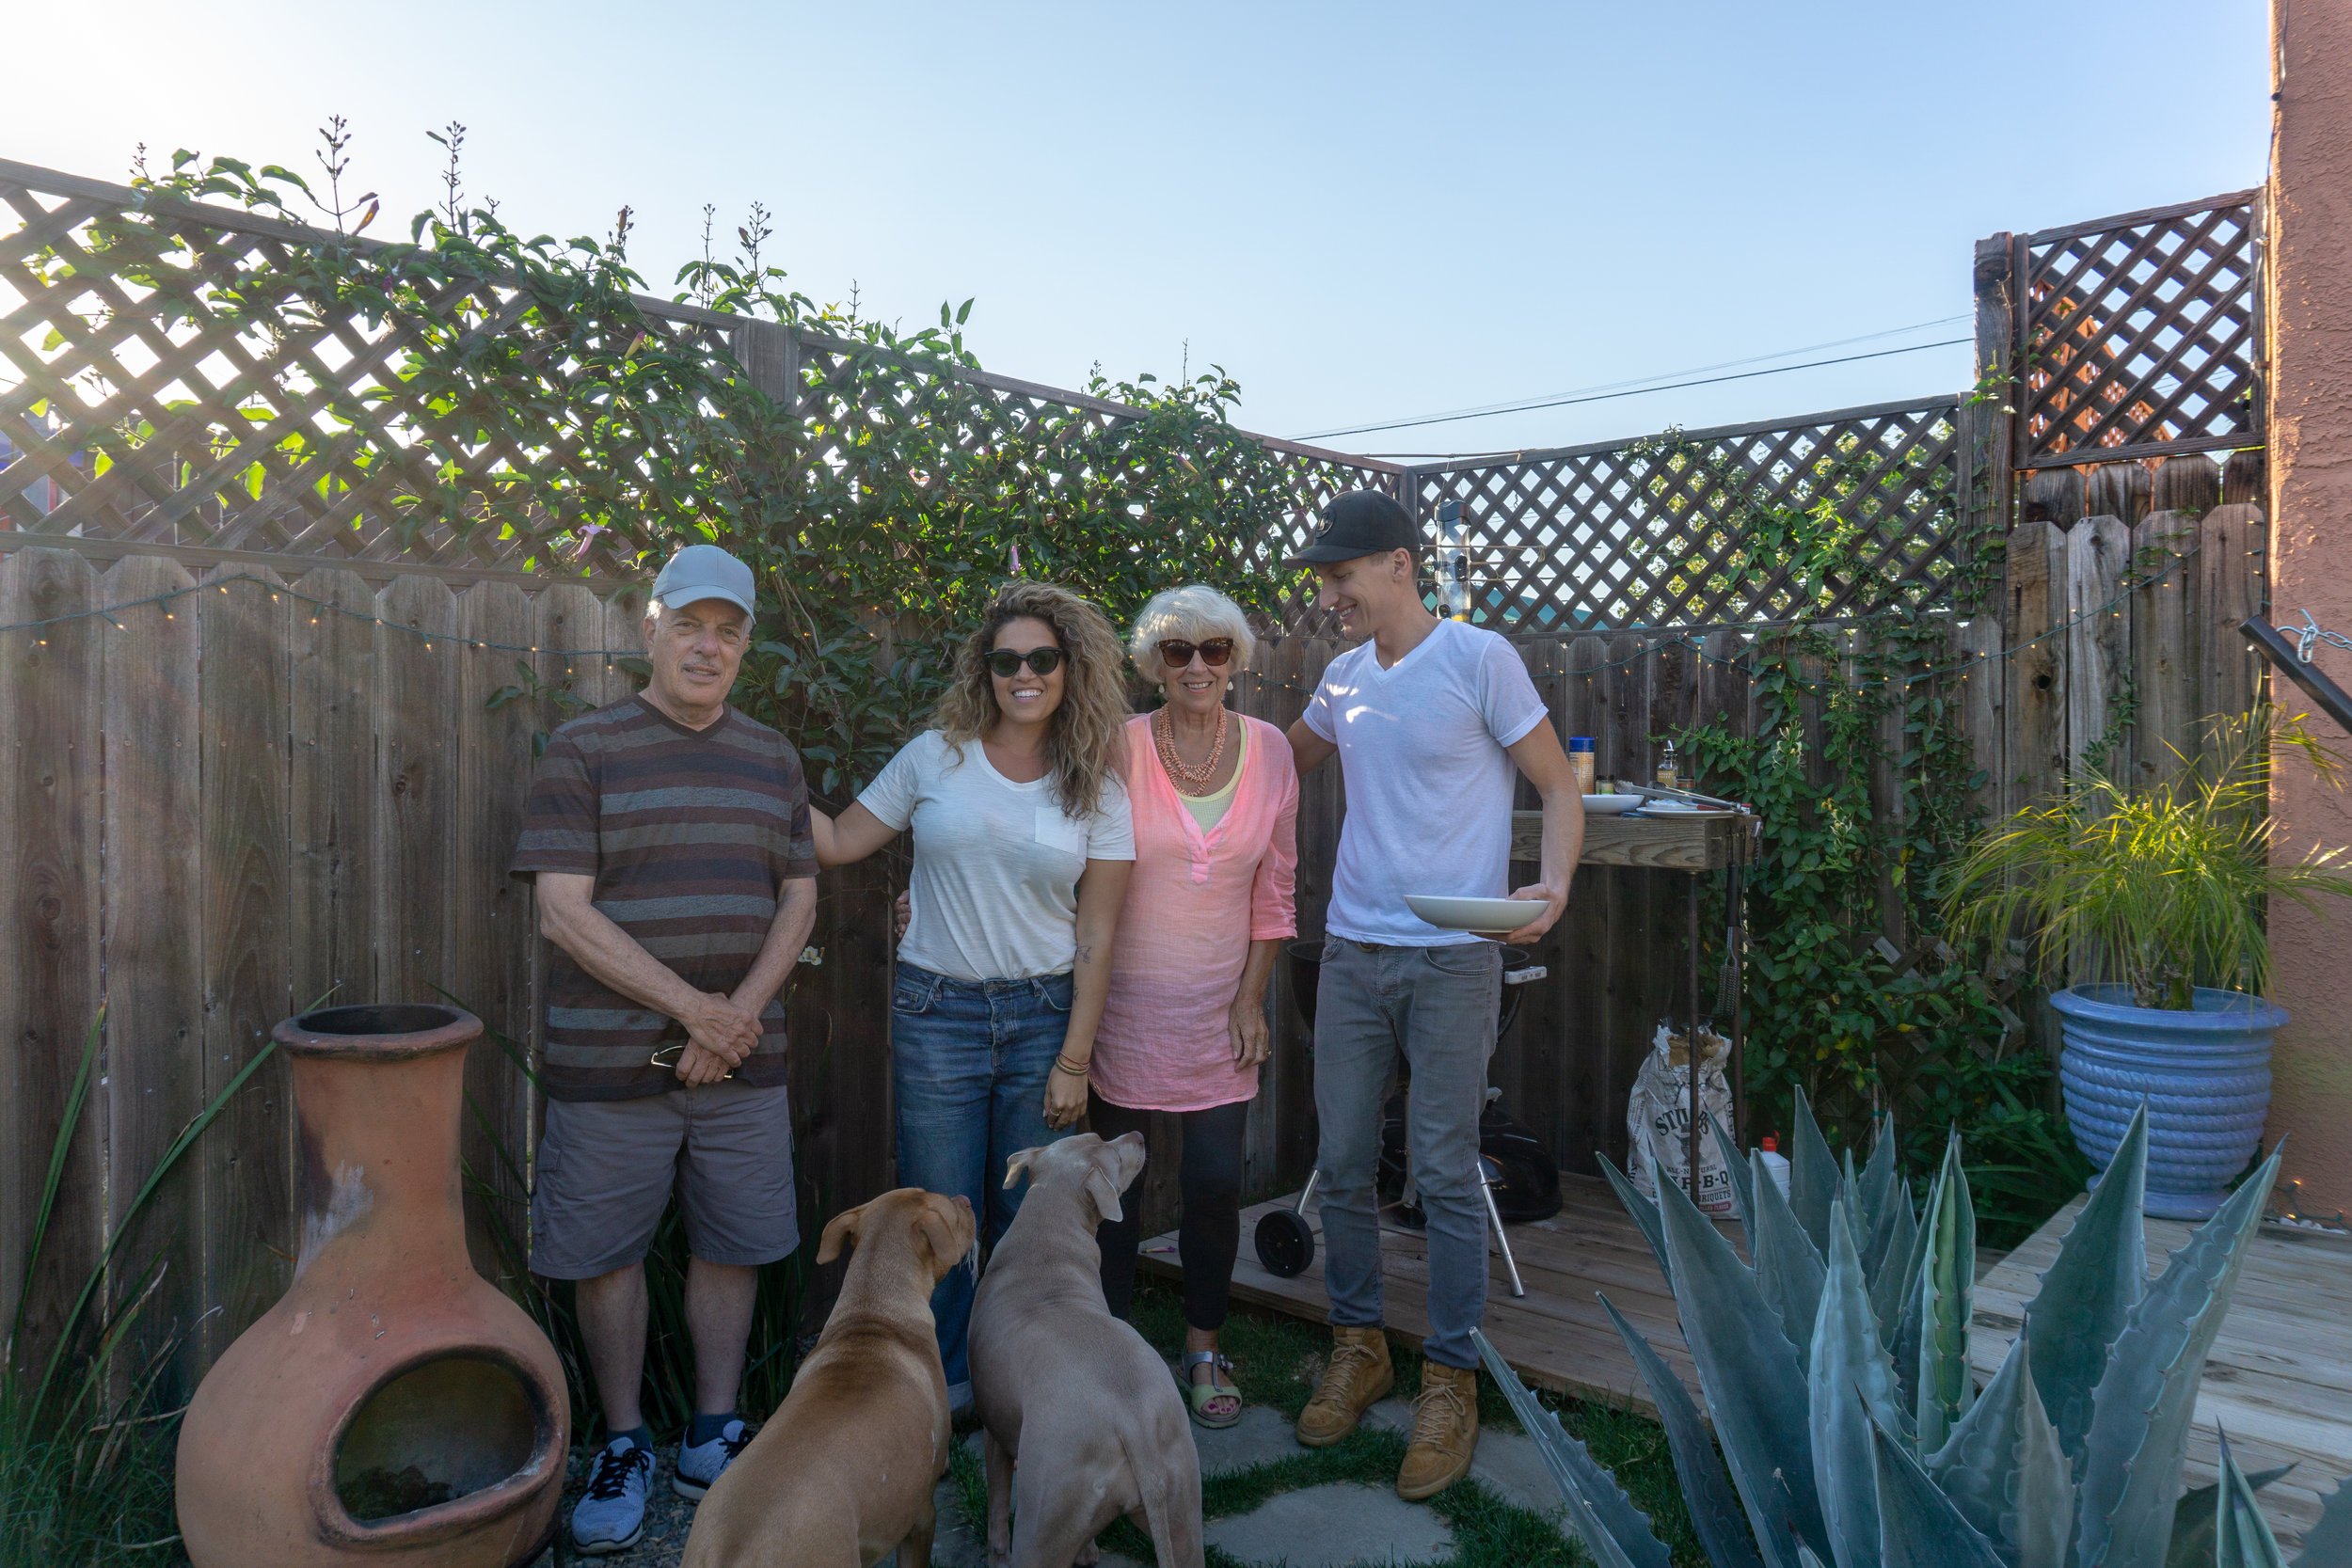
Tripod fun with the fam
You will fill far more psyched about packing up your equipment when you've had loads of practice and worked out all the kinks. Understand how long it takes to set up, how to adjust consistently for the style of photography you like, what it's like to take it out into public, and where/when it's best to not have the tripod out. You can start inside your home and then take it outside. Photograph your pets, your family, you and your bicycle. Then take it to your favorite town landmarks or the beach or a park. The more you try it out with your camera (or cell phone) the more pumped you will be to use it during your getaway.
3. Work out your favorite compositions (yes, more practice and research)

Sayulita, Mexico
Do you have a definitive photography style? Do you like to feature yourself in a photo or feature the background? Where do you like to stand in the photo? How do you like to stand in the photo? Do you like to look at the camera? Do you like to be walking, twirling or standing still? Do you love to smile or take stoic shots of yourself? What are some of your favorite travel photographs with people in them?
Before you whip your tripod out in an unfamiliar place, work out an idea of how you want the photograph to look first. It will help with when to shoot, setting up the shot, and potentially take less time to capture what you're looking for.
4. Determine the best time of day to use the tripod in your desired locations

Tegunungan Waterfall - Bali Indonesia
This may take a little research as well, but your best bet is to go when the crowds are smaller. At sunrise, before businesses open, and before sunset are usually quieter times for crowds. Not only might you end up with fewer people in your photos, but you will likely get asked a lot less to take pictures for other people.
*I once made the mistake of trying to photograph myself with my tripod in front of a very popular waterfall not too far outside of Ubud, Bali at 1:00 pm. It took me ages to get the shot. Between folks not realizing that I was using my tripod to take my own photo, to people (and groups) asking me to take their pictures once they saw my equipment - it was a bit of madness. I couldn't be all places at sunrise during my time there, so this one had to fall later in the day. And my photos still came out great, so it was worth it in the end. But I will take my own advice in the future.
You may also have a better time enjoying your holiday if you shoot all of your tripod content at the start of the day (or a single dedicated time of the day) and then put it away to enjoy your time for exploration.
5. Set up the camera and ensure the tripod is level
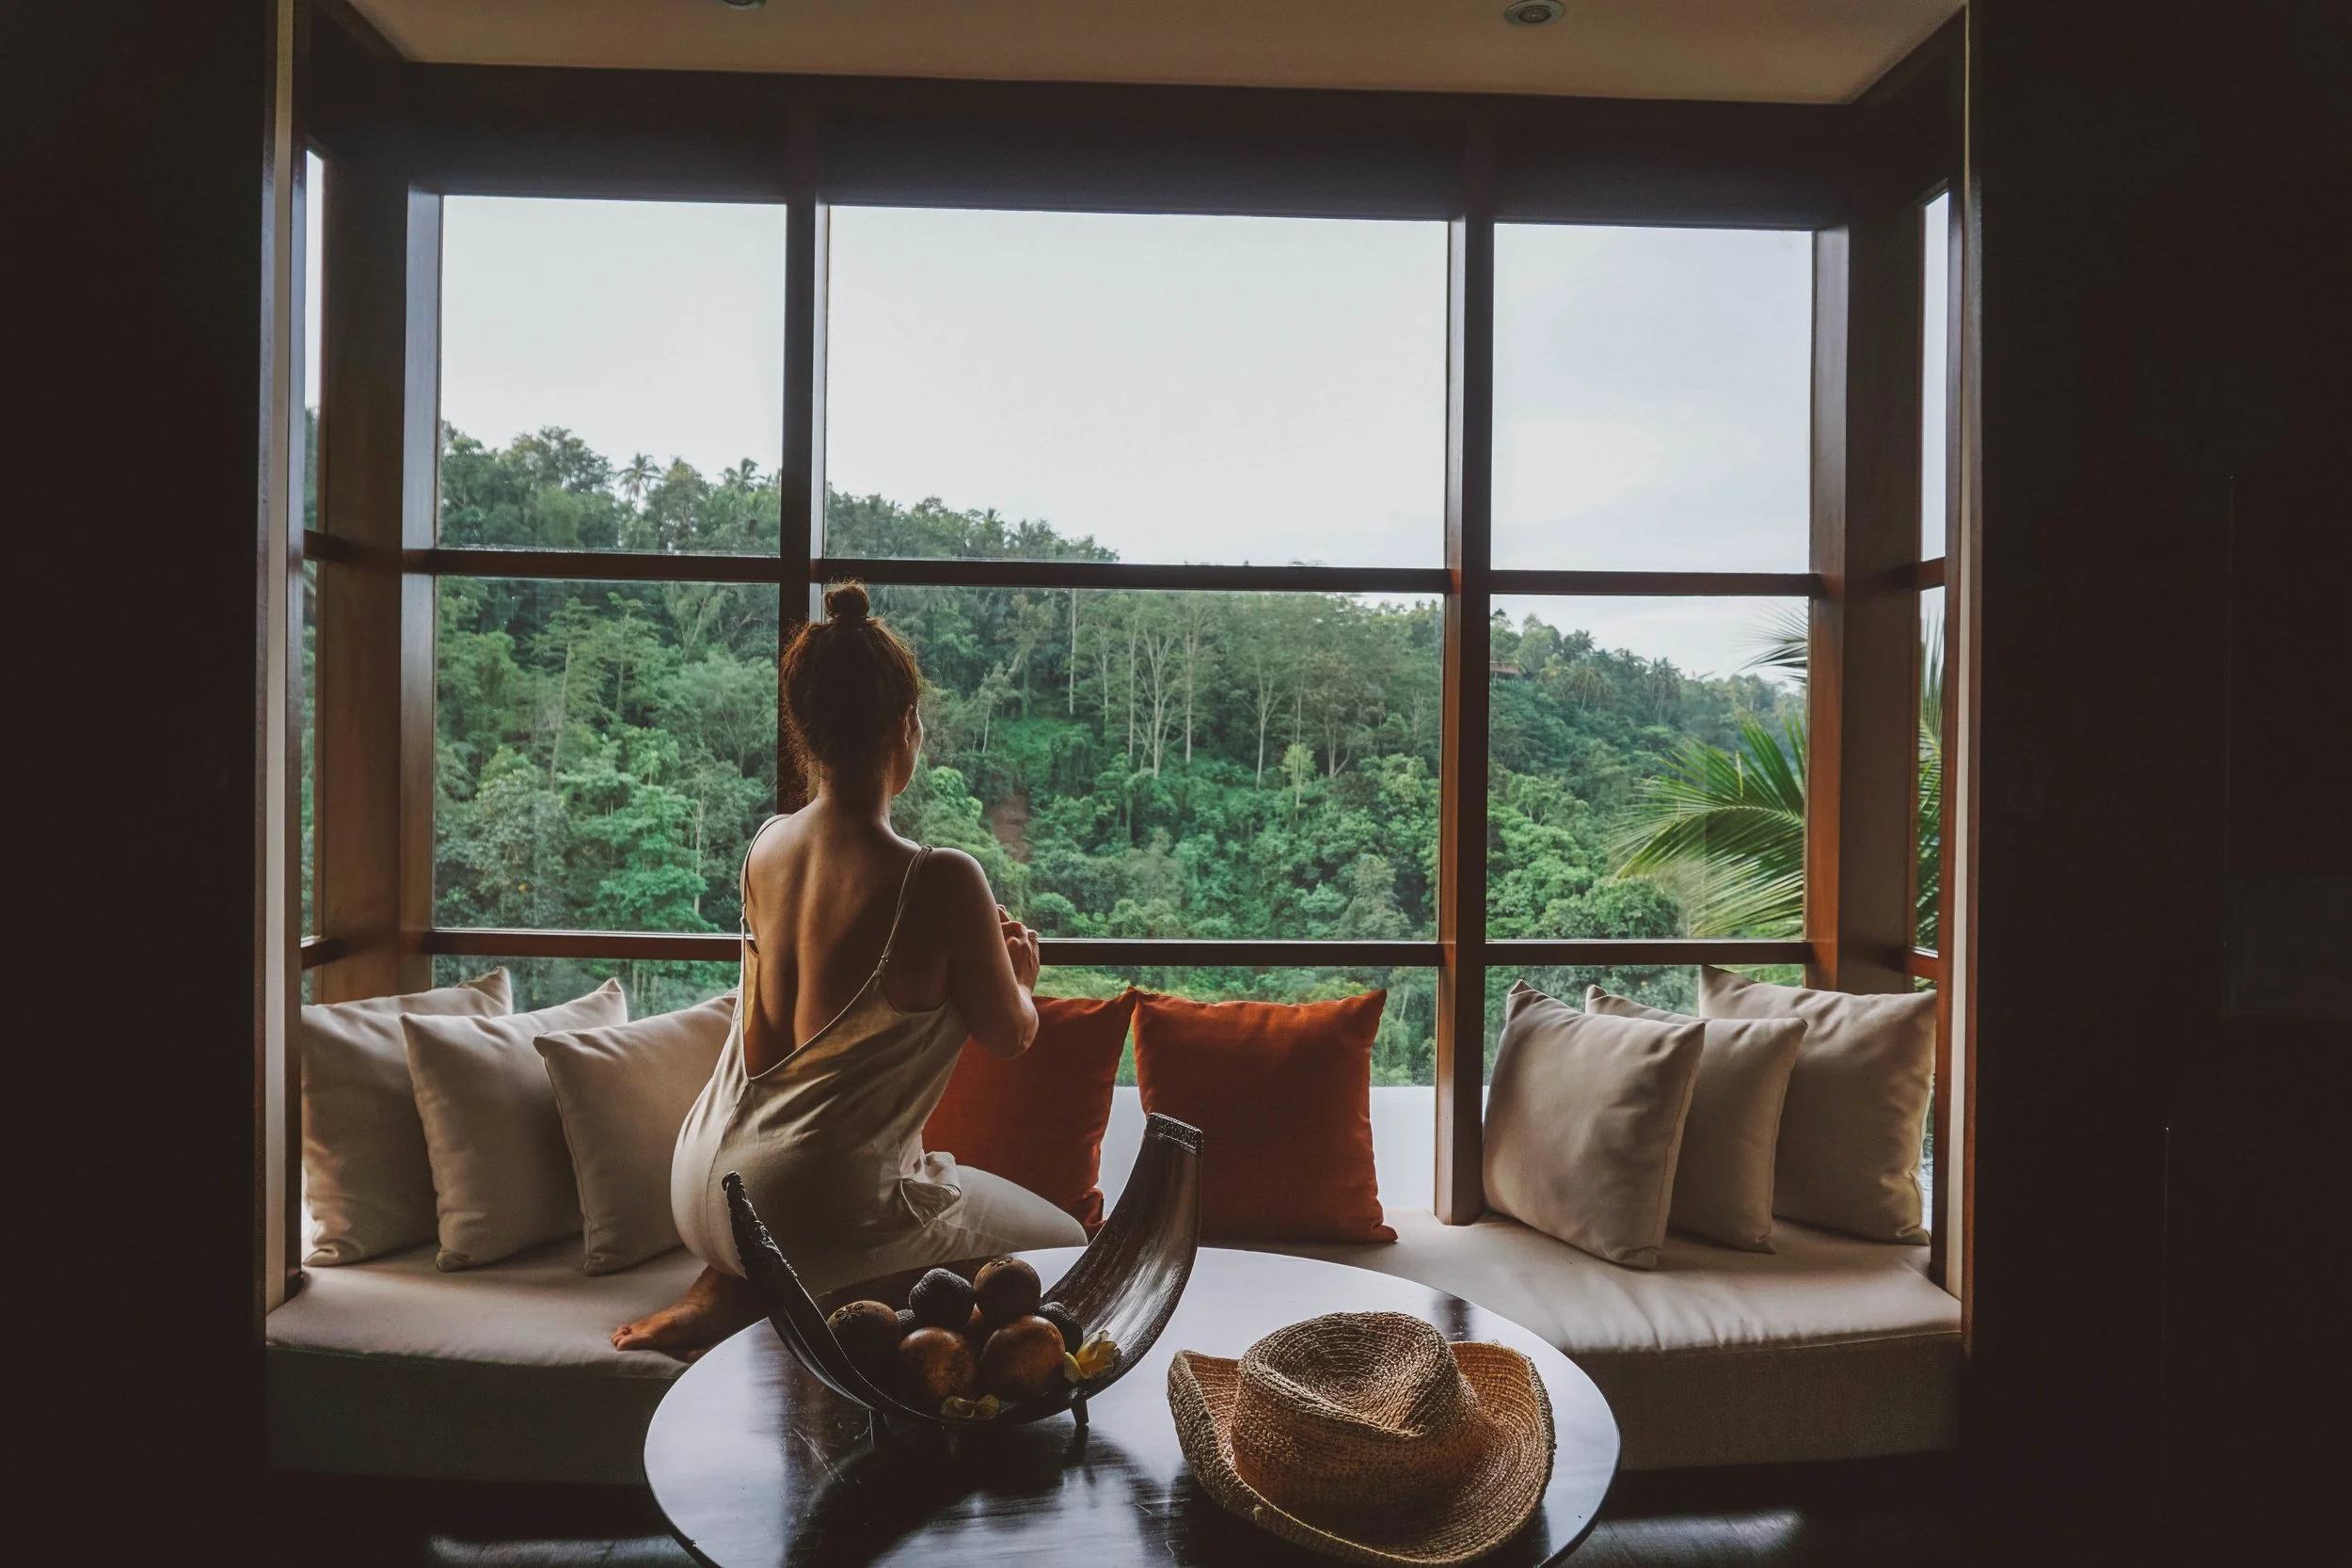
Hanging Gardens of Bali Hotel - Bali, Indonesia
This one may seem super obvious, but you could end up frustrated later during your editing process if you have to correct the level of the photo and you end up cutting your foot out or your arm off. Aim to get the equipment as level as possible and include everything you need in the shot.
6. Take a few test shots of the scene first

Handara Gates - Bali, Indonesia
Let's say you are photographing a wall with some very cool street art and you want to jump in it. Take a few test shots of the wall to make sure you are comfy with how it fits in your frame. Understand if you want the photo to be in landscape and portrait or just one or the other. (I often prioritize shooting in landscape and then crop the image to portrait later for Instagram or Pinterest so I have clean images for Her Travel Style.) You will be better off with more options for a photo when you're back home. Play with the angles and the most interesting way to capture the subject.
7. Figure out foreground, background or middle ground

Pura Gunung Kawi Temple - Bali, Indonesia
After you've taken a few test shots and you're comfortable with the photo, determine where you want to add yourself to the photo. Pick a place in the street art, for example, where your body will end up and stand there. Keep testing it out and moving around until you enjoy the way the photo feels. Keep the rule of thirds in mind. In addition to positioning from left to right in the frame, think about where you will stand in relationship to the camera. Are you closer to it or further away from it? This depth of field is also an interesting variable to play with.
8. Consider what you're wearing

Sayulita, Mexico
When you are in manual mode and you are determining the settings, think about the movement you want to capture. If you are in a dress and want lots of twirling this will affect your camera setting and the necessity of prioritizing the shutter.
9. Put a placeholder in the frame

Campuhan Ridge Walk - Ubud, Bali
If you are taking a photo that has some texture in the foreground and you plan to stand in the middle ground in front of your background, you'll need the lens to focus on where you'll be standing. Otherwise, you will be blurry and your foreground will be in focus. You may want to have a little-stuffed animal to put in place and get the focus started in that position so you'll stay the main subject of the picture. Or you could ask a stranger to step in momentarily!
10. Use self-timer or remote clicker

Micheltorena Stairs - Silverlake, CA
There are a few ways to take the photo of yourself and you can become comfortable with any of the options. Sometimes it can be easiest to use the corresponding phone app to your camera so you can see what the shot looks like and take the photo from the phone. Or you can use another remote clicker that can stay discreetly in your hand. Or you can just put the self-timer on and wait for the photo to click. If I'm not too far away from the camera I will use the self-timer. In order for me to feel the most comfortable I have to organically move around a bit and the self-timer helps me capture my most natural state.
I hope these 10 tips help build your confidence and self-portrait portfolio with your tripod! I can't wait to see your pictures and hear all about it! Please do send in your samples and your experiences. And of course, let me know if you have any questions.
Happy photo taking and bon voyage!
xo,
Taryn